DIY Probe Station
We fabricate our own neural interfaces and are always needing to characterize their electrical properties. We’re mostly interested in electrochemical impedance and how it’s affected by different conducting materials, electrode geometry, and specialized coatings. These measurements are typically taken on something called a probe station, which is made for high-quality, low-noise electrical measurements from a sample. Here’s an example of one from FormFactor
These quickly get expensive (they even look expensive). I got quoted up to 50K a while back, depending on all the add-ons and gizmos you choose to include.
If you’re lucky enough to have one in your lab or available through a core facility - good for you! For us unfortunately, nothing in core facilities or neighboring labs suited our needs. So, I set out on one of the lab’s first DIY-for-cheap projects. Below, I describe how we constructed a simple probe station for less than $4000.
If you’re looking for potentiostat suggestions, this blog won’t be much help. But here are my two cents. In my lab, we take our measurements with a Gamry Interface 1010E Potentiostat, which ran us about $8500. I went with Gamry because it seems to be the most common in the field. I have no major complaints about it, but do kind of wish I had paid a little more for an impedance analyzer from Zurich Instruments, which I used during my postdoc. My main complaint about the Gamry is the software. It’s too many clicks to run simple measurements and takes a lot of time when making many measurements. The Zurich had some really nice features that I miss.
Back to the probe station. Below is a parts list, images, and description of our current setup.
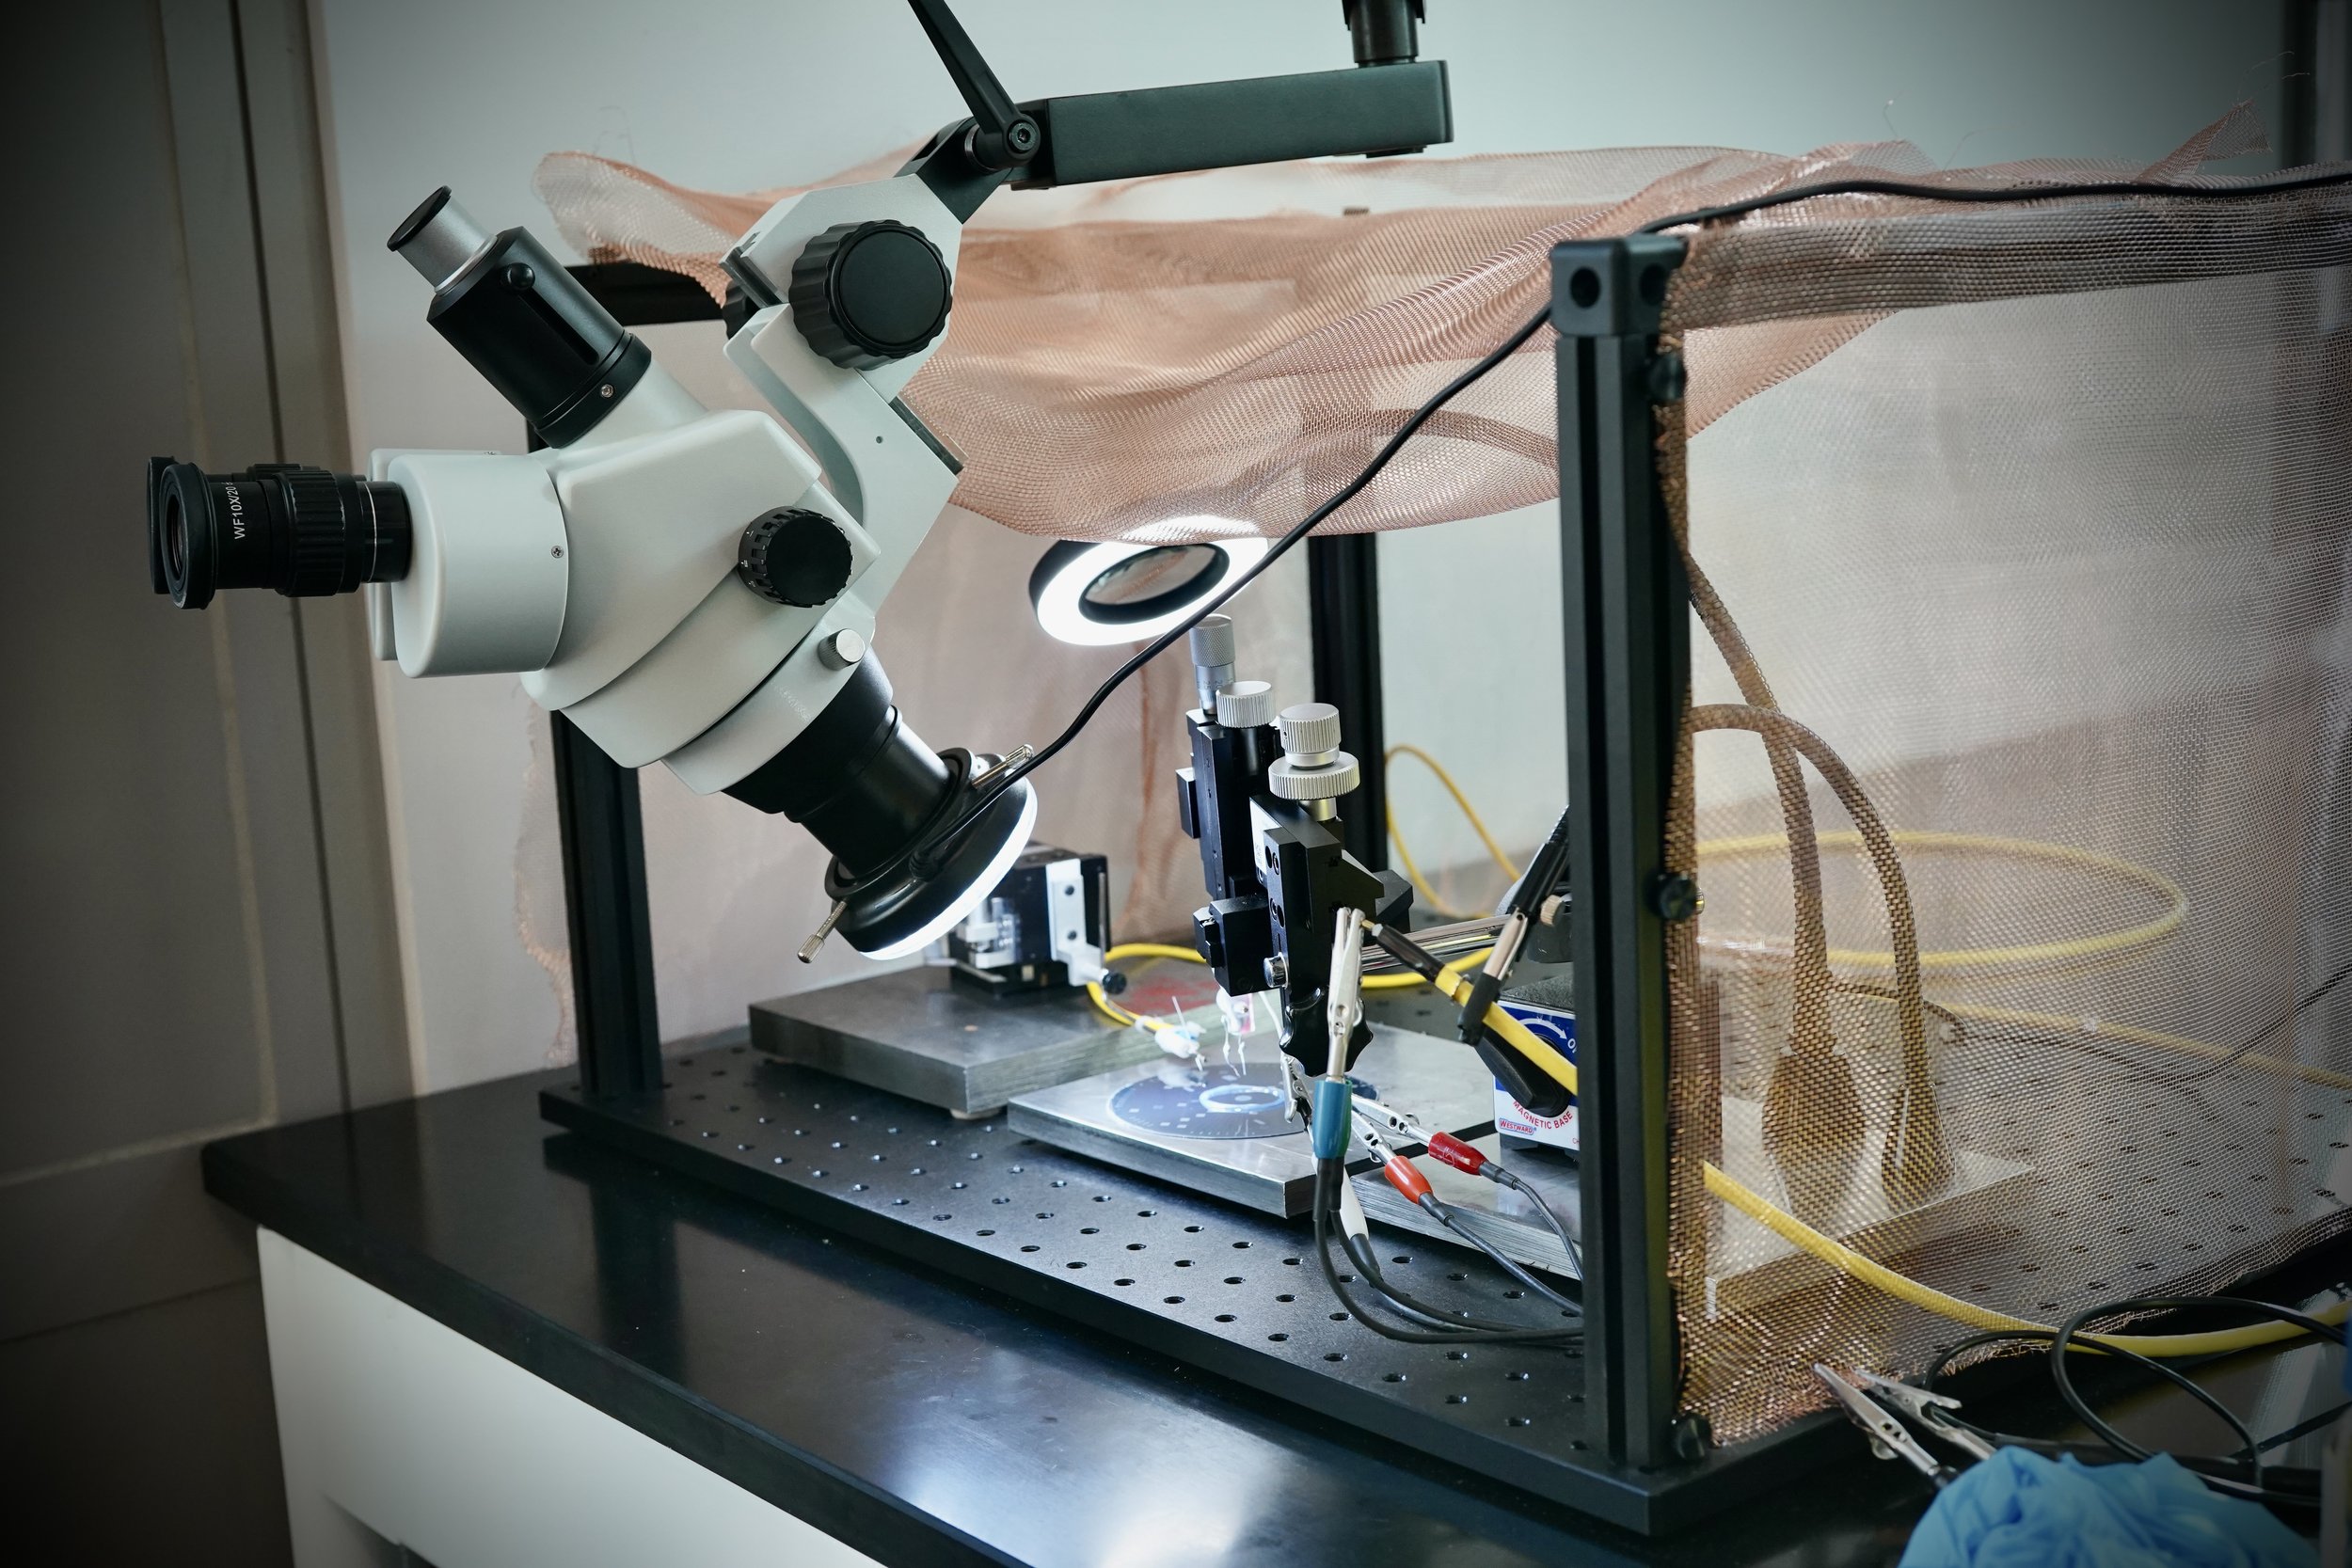
The faraday cage and scope
Both of these components are essential to viewing your sample and cutting out noise. For the faraday cage, we went with a simple rail system from Thorlabs, then just covered the whole thing in copper mesh.
When looking for a cheap microscope, I always check first with AmScope. I’ve used a variety of these products for over a decade now and have very little complaints. You can get similar products from somewhere like Nikon or Leica, but for 10X the price. Our inspection scope here mounts to a nearby shelf, and it also mounts well to a table or other sturdy object. If mounting isn’t an option, there are other configurations AmScope provides that will probably work well, like this one. My only complaint with these microscopes is they don’t do well with extreme angles. To look into the eyepieces in the photo below, for example, we have to squat or use a short chair. Not ideal, but it works fine.
For those of you who do surgical procedures, we have this same scope replicated on our surgical suite and it works beautifully.
The probes
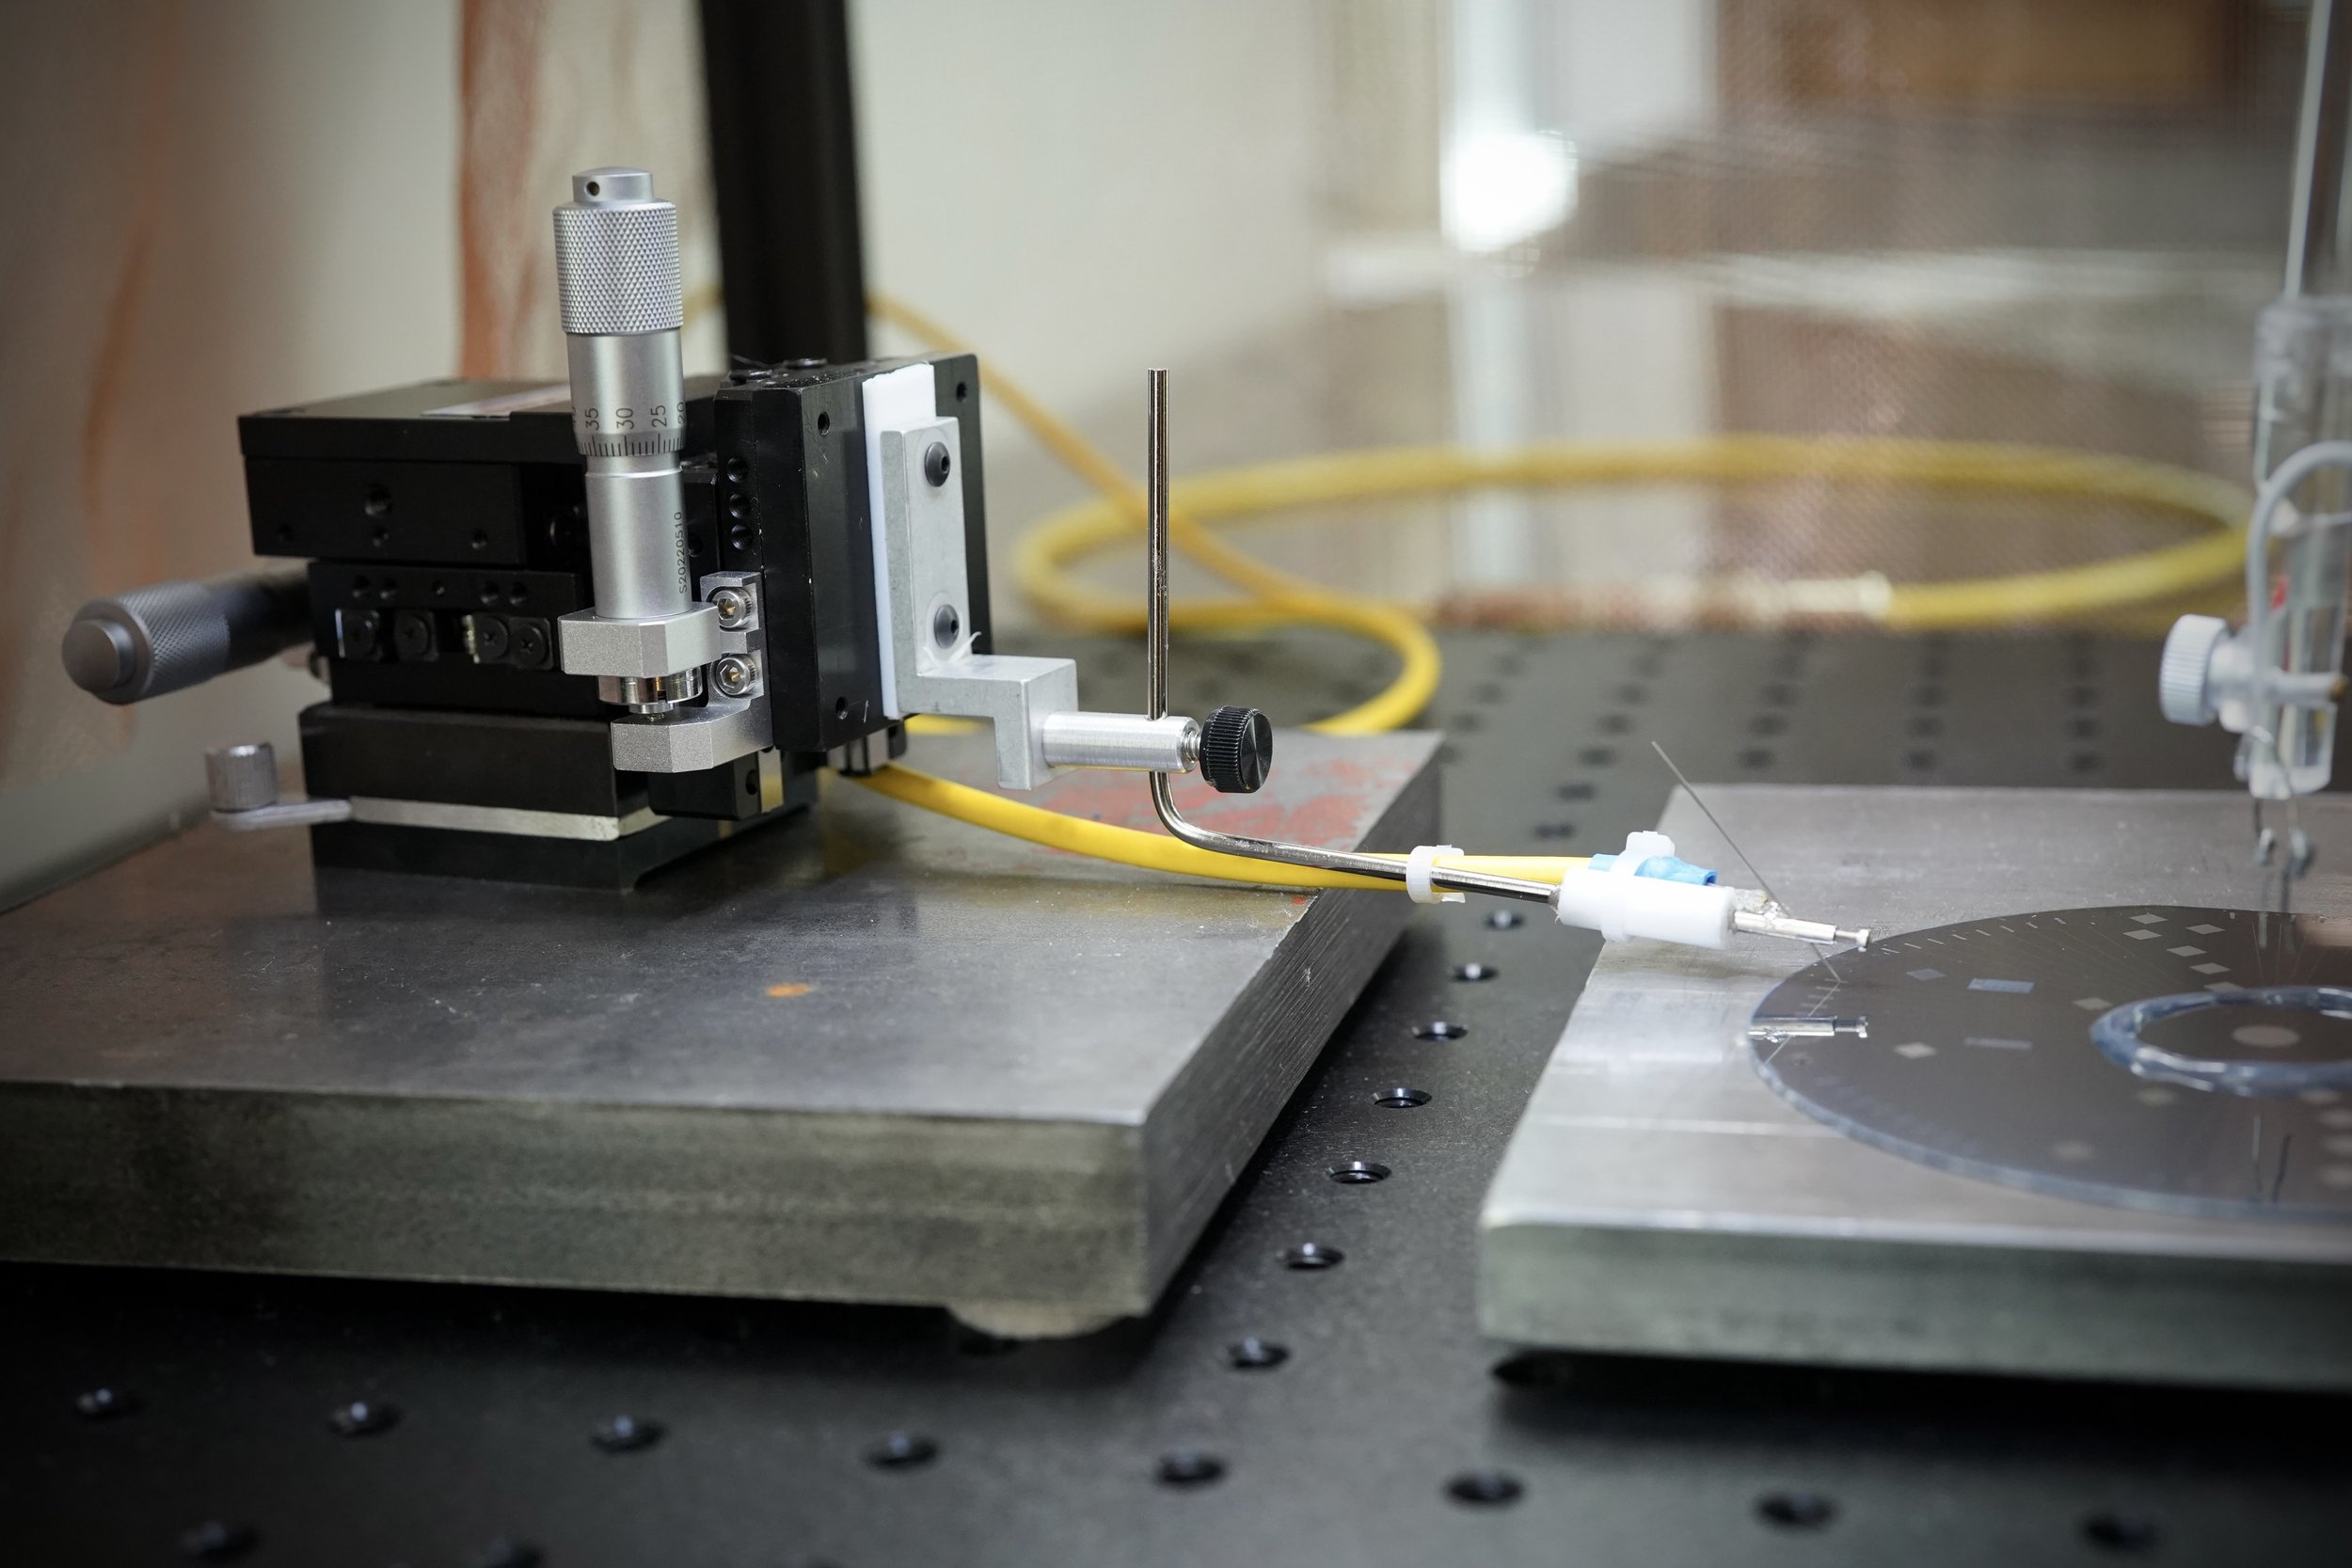
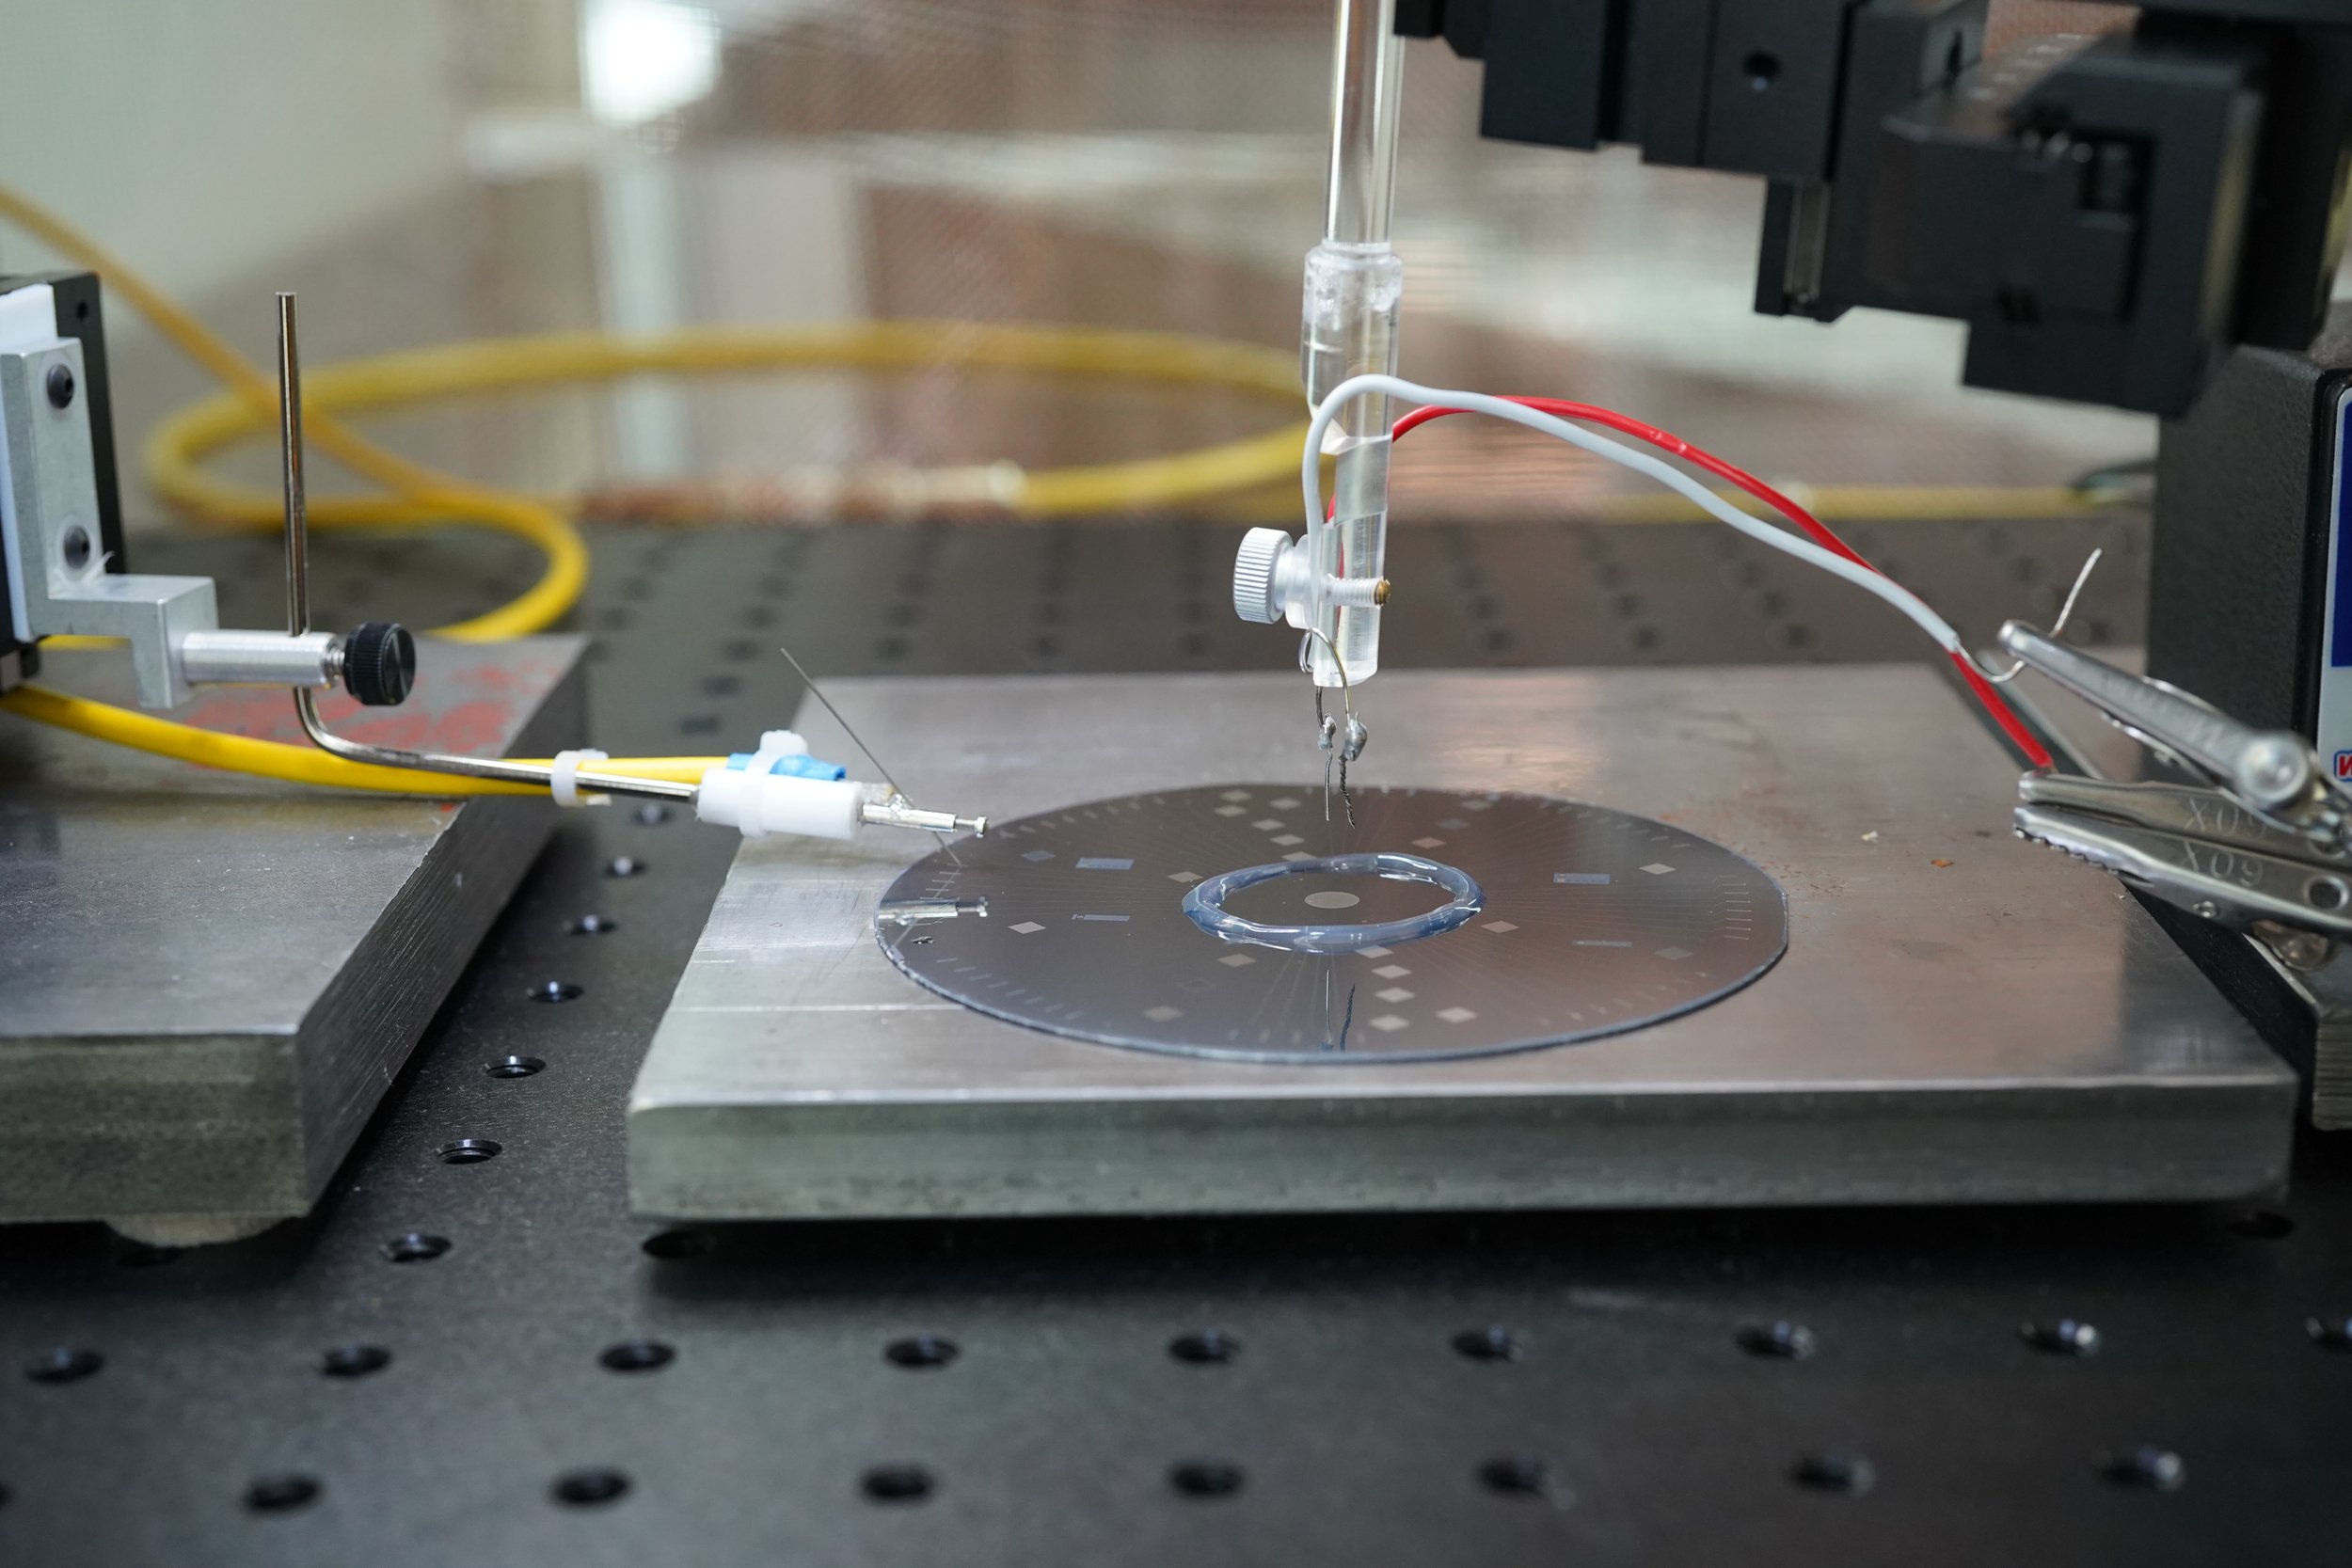
This is what makes a probe station a probe station. They are basically a micromanipulator paired with tiny needles for making contact with your substrate. We went with a company called Creative Devices and have been pleased with the performance so far. How many of these you need depends on your application. You need a minimum of one probe, but up to 3-4 depending on what you’re measuring (we got 3 just in case).


The ground and counter
This is where you can get a little creative for electrochemical impedance to save on the cost of more micromanipulators and contact probes. For electrochemical impedance, you really just need one probe to make contact with your main contact pad. There isn’t a need to make direct contact at the recording electrode. Instead, a ground and counter wire are dipped into saline that is soaking the recording electrode, and you don’t necessarily need a micromanipulator for that (although it has some advantages). How you set everything up depends on your specific application and potentiostat.
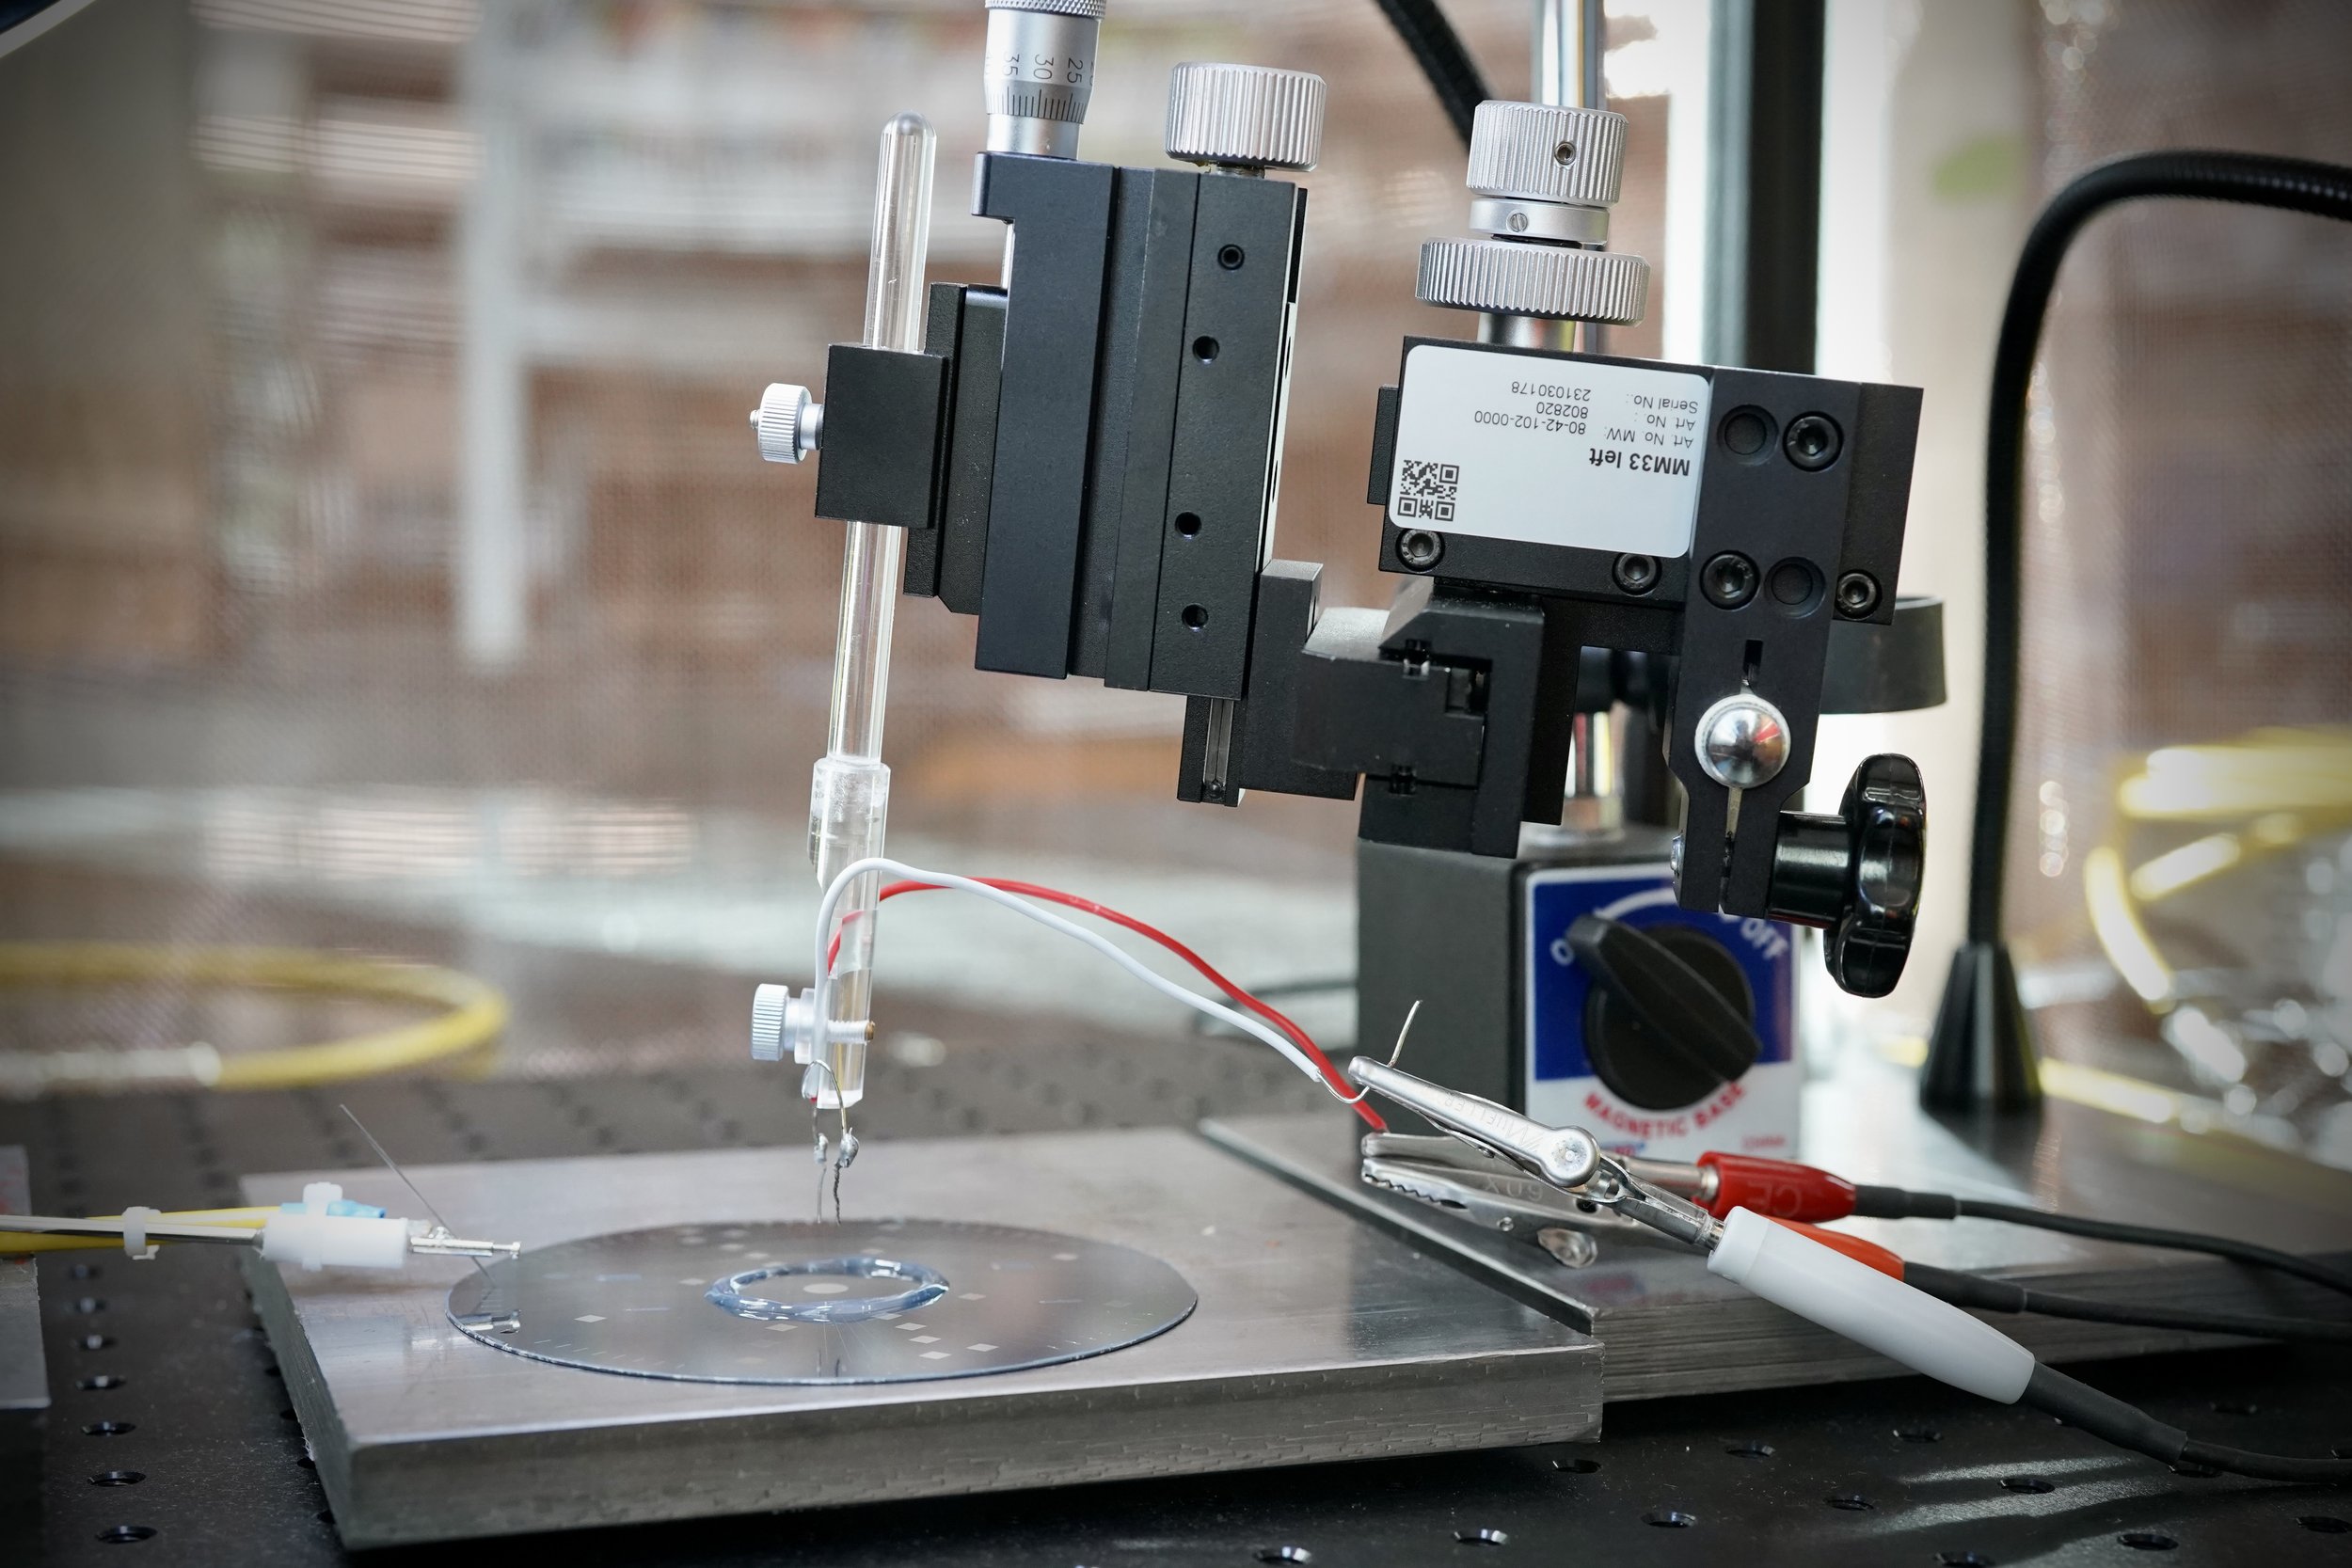
In our setup below, we use a micromanipulator we already had to hold an Ag/AgCl reference wire and Pt counter electrode. Then, we simply clip our potentiostat onto the relevant wires. We haven’t noticed a major difference between this (rather crude) approach vs using the Creative Devices probes shown above with triax cables. Another option we’ve used is just a simple pair of Helping Hands to hold the wires in the saline. This nice option has a ton of little gadgets we have found helpful for different random aspects in lab. For a period of time, we used the alligator clips to dip annd hold the ground/counter wires in the saline. It works just fine, but having a manipulator to guide things can reduce the potential for accidentally damaging your sample.
I included the manipulator (from WPI) below and its magnetic arm in the parts list, but again this is just what we had in lab already. The manipulator is painfully expensive, but has a great range of motion in XYZ. In addition to the expensive manipulators, WPI offers absurdly expensive (~$400) magnetic arms required for mounting the manipulator. I’m proud to say we found a similar magnetic arm from Grainger that works well for about 30 bucks. The one tradeoff is the diameter of these arms is a little too small for the manipulator, so you need to find a way to thicken it up a bit. We wrap the arm tape in tape to get it to the right diameter.
Another solid manipulator option is the MX130 model from Applied Scientific Instruments for less than $1K. We have a few of these in lab for other experimental setups. The tradeoff here is they only have a large range of motion in Z.
(Update shortly after publishing this post: we just use the MX130 manipulator now. It’s mounted to the same Grainger magnetic arm. All of these options are in the parts list)
Substrate and manipulator base
We mount everything onto flat, heavy steel plates from Grainger. This allows the manipulators to magnetically latch down and immobilize and provides a flat surface to place the sample. you can also ground all of these to reduce noise. Felt pads below the plates cushion everything, protect the surface of the breadboard, and reduce vibrations. We put felt pads beneath the breadboard too. This is all sitting on a standard wet lab bench, and vibrations haven’t been an issue at all.
Other than the extra time of looking all these parts up and searching for the best prices, I really love putting this type of thing together. It works great, will give years of solid data across pretty much every project in lab, and saves large chunks of funds for other more important aspects of lab. I’m looking forward to putting more of this type of work out there for others to use as we continue to get the lab up and running.
Happy building,
-Daniel


