Simple Whisker Stimulator
My current postdoc work focuses on the mouse barrel cortex, the part of the brain that senses whisker touch. While it’s tempting to go into depth about why I think the barrel cortex is so cool, I’ll get straight to the point.
To study the whisker system, you need ways to controllably deflect whiskers. Piezo stimulators are incredibly common. The advantage here is a high degree of control and a small form factor for delivering stimulation to many single whiskers simultaneously. But they’re also pretty expensive, somewhere around $1-2K just for the controllers and ~$500 per piezo. Also, piezo stimulation isn’t well suited for studies in awake animals. Magnetic stimulation by attaching small magnetic particles to single whiskers is common and has a lot of advantages. I find this approach most appealing for tuning deflection magnitude in awake animals. However, by far the most common approach is motor-based.
Here, you’ll find everything you need for a multi-functional motor-based whisker stimulator. This method is cheap, totaling less than $500 for a two-whisker stimulator. The primary reason I like this approach is the wide range of uses:
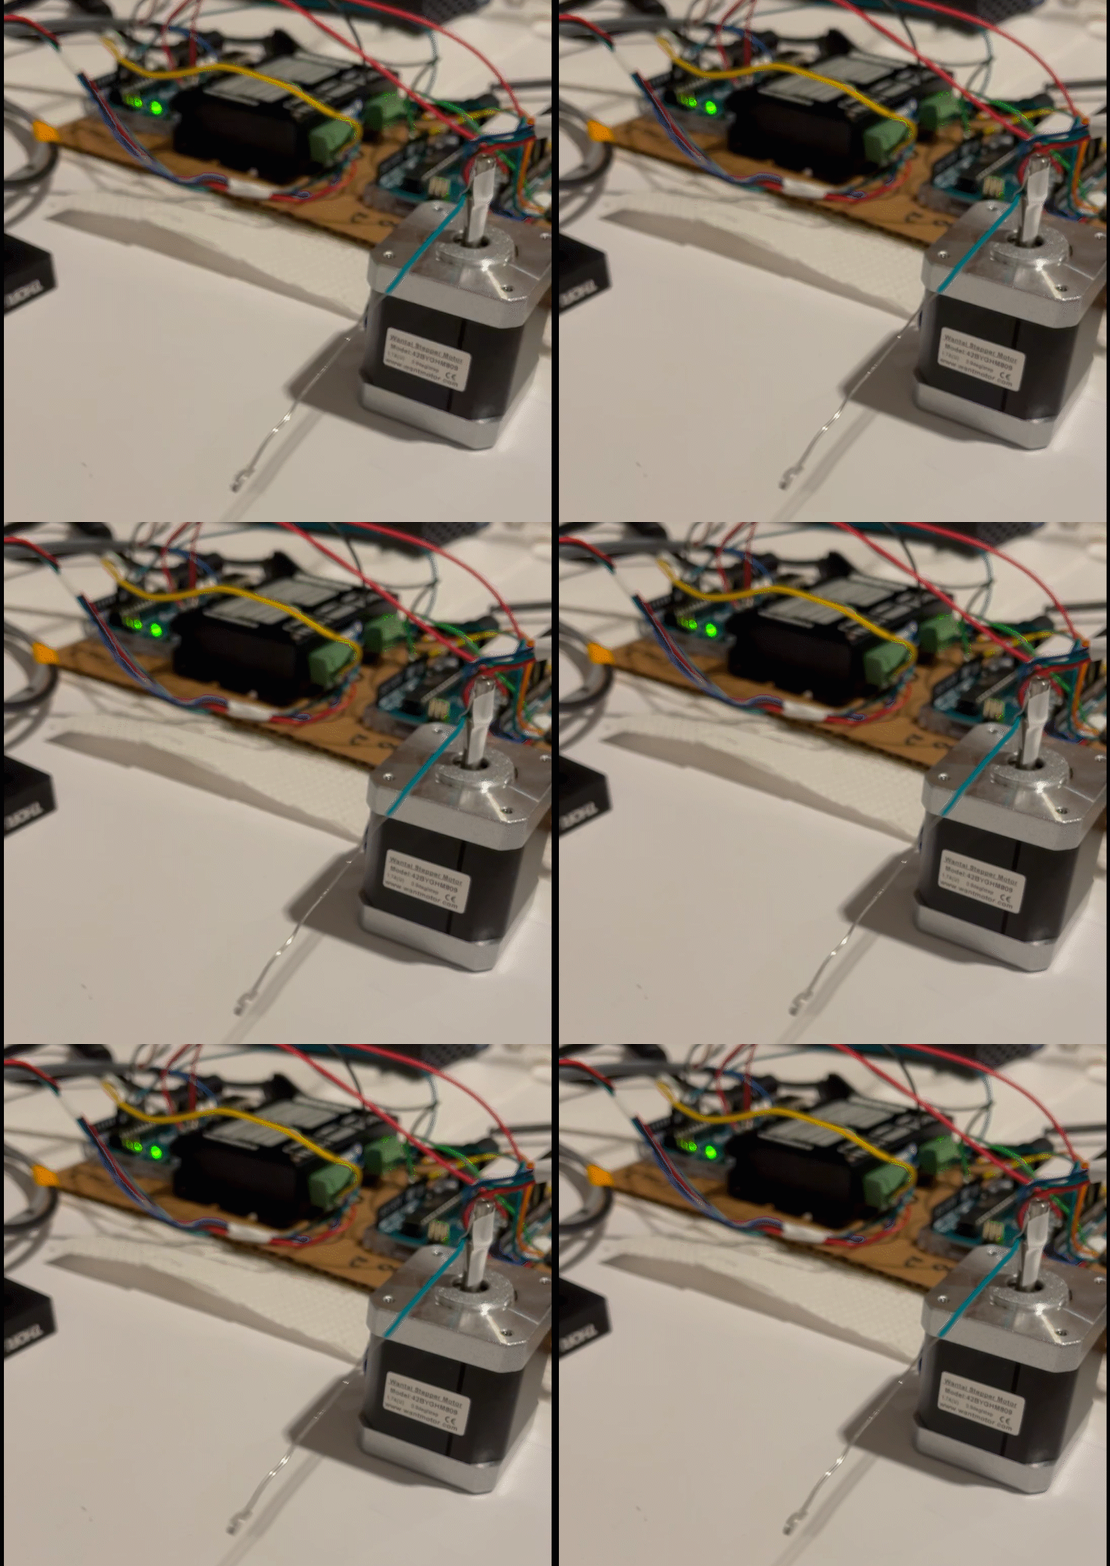
You can deliver rapid sinusoidal stimuli up to 100 Hz by stepping the motor back and forth quickly. See the gif below for a 15-20 Hz stimulation I use during intrinsic imaging.
2. In awake animals, I use the motor to rapidly brush a pole past a whisker (or the full whisker pad). These motors can rotate a pole move several centimeters in ~20-40ms. Alternatively, for active touch, the motor can move the pole within the whisking range of the face, instead of a rapid sweep.
3. (Pics to come at some point) You can deliver controlled deflections to multiple whiskers in anesthetized animals. Instead of rapidly stepping the motor back and forth many times, or moving the pole a large distance, you can instead step the motor once to deliver one small deflection of a few hundred microns. Want to then deliver a larger whisker stimuli? Then step the motor forward twice or three times. Multiple motors can be used in parallel to deliver this stimulation to a few whiskers simultaneously. But you’re limited to ~3 whiskers max, because of the bulkiness of the motor.
Stepper motors are dirt cheap, easy to use, and still have plenty of flexibility in terms of magnitude of whisker deflection and stimulation rate. For one stimulator, all you need are a stepper motor (<$20), stepper motor driver (<$25), and Arduino controller (<$25). See this PDF for a full, detailed parts list.
To control the amount of movement and speed of movement, all you’ll need to do is tweak the arduino code. Also, of course, the length of the pole you attach to the motor determines the amount of deflection per motor step.
For positioning a stimulator in the correct location, I find the Noga arms to be very useful (see PDF…again I’ll try to remember to come back here and add a pic). I use the bracket component (see PDF) to attach the motor to the Noga arm, then attach the arm to my optical table. There is a huge range of motion and flexibility in positioning the whisker stimulator.
Below is a pic of the full two-motor setup. (Note that you can control the each motor with the same arduino, two arduinos are pictured because I use one to control a camera during intrinsic imaging). A bit of a rats nest, but it works and that’s what I care about. Let me know if there are questions!


